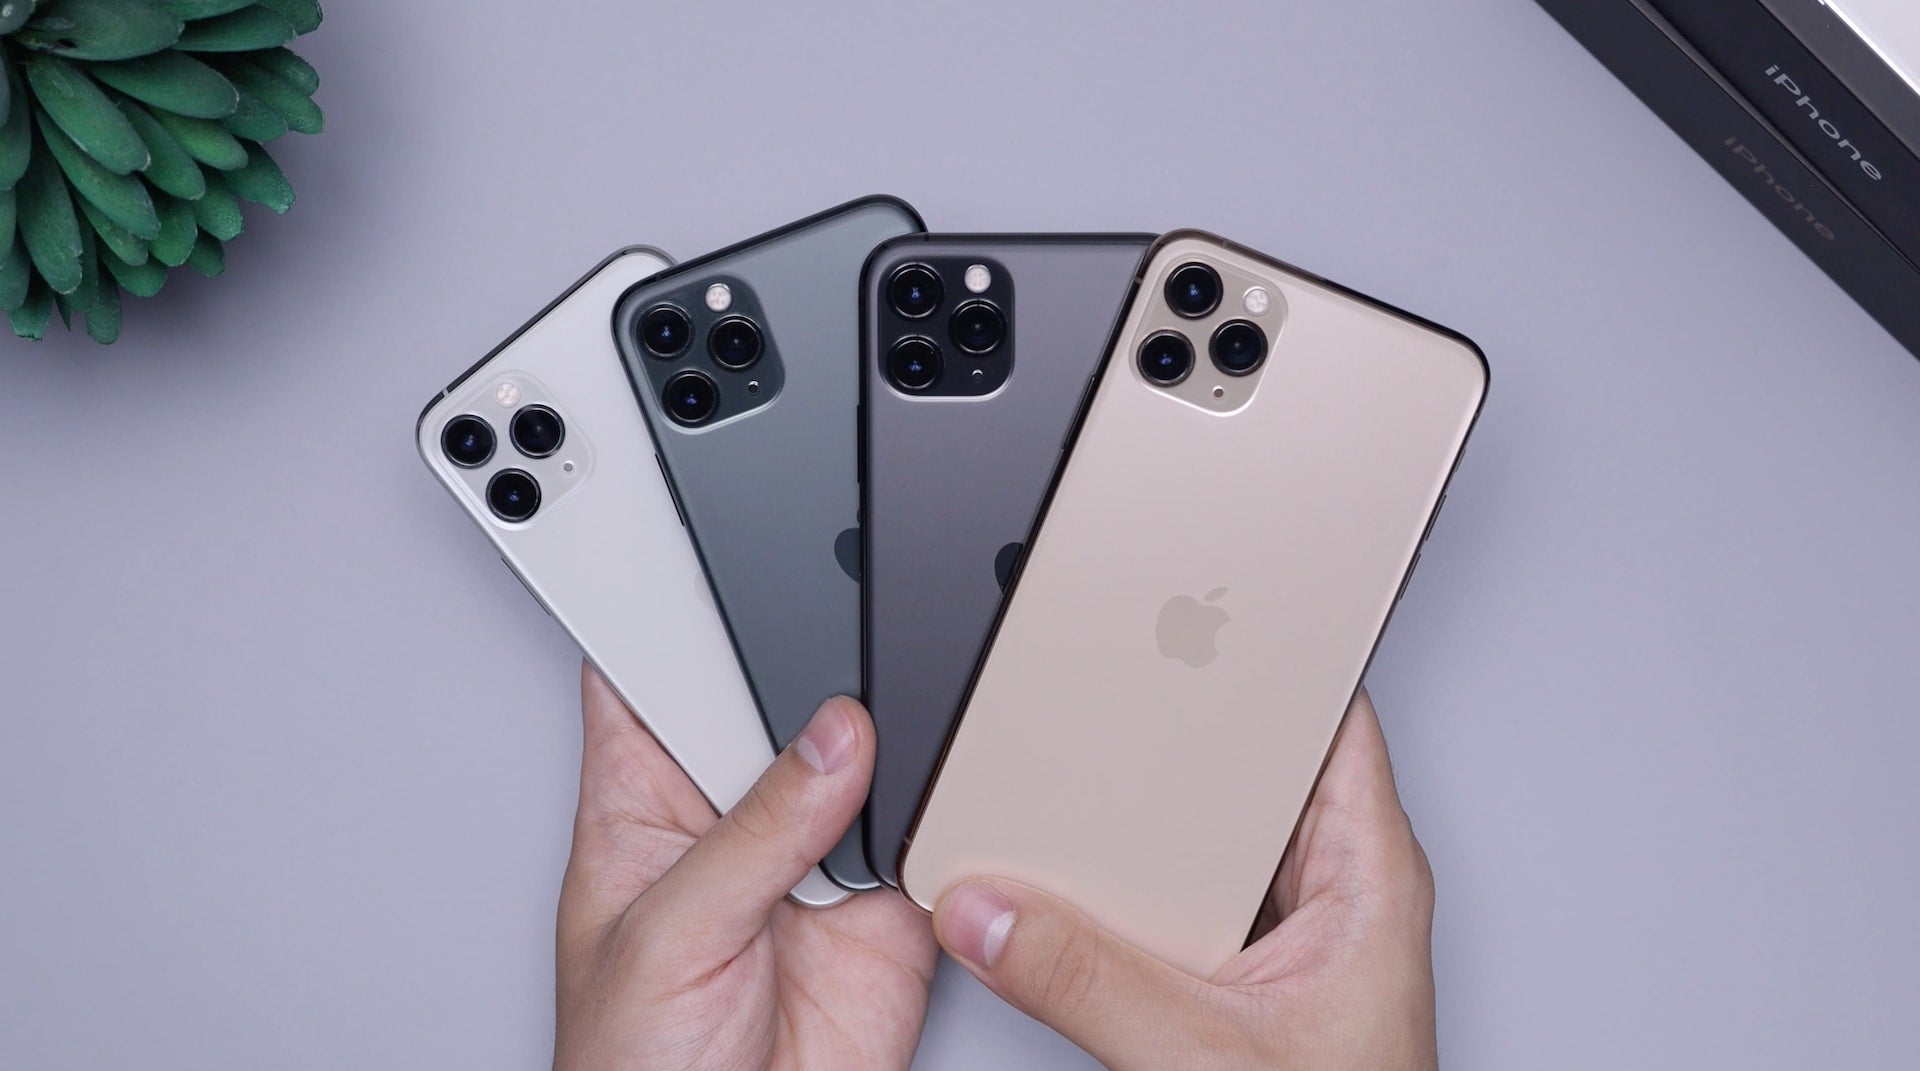
Indeed, setting a timer on your iPhone is a useful feature when you want to take a photo of yourself or capture a group photo without needing to rush into position. By using the timer function, you can have a few seconds to prepare and get into the desired frame before the photo is taken. Here's how you can set a timer on your iPhone:
How to set the camera timer on iPhone
- Open the Camera app on your iPhone.
- Set the camera to the desired mode, such as Photo, Portrait, or Square.
- Swipe left on the menu that appears under the camera frame until you see the timer icon, then select it.

- Once you access the timer menu, you will notice that the default option is "Timer Off." However, you can select either a 3-second or 10-second timer. Simply choose the desired option from the available selections.

- After selecting the desired timer duration, the timer icon will turn yellow to confirm your selection.

- Once you have set the timer and confirmed your desired duration, get ready for the photo by positioning yourself or arranging the group. When you press the shutter button, a countdown timer will appear on the screen, displaying the remaining seconds (either 3 or 10) in a backward count until it reaches "1

- the photo will be taken.
Tips for taking photos from an iPhone using the timer
Using a tripod: Using a tripod can indeed enhance the quality of your photos, whether you're capturing solo shots or group photos. Here are some points to consider when using a tripod with your iPhone.
Properly positioning your phone when taking outdoor photos, particularly in bright sunlight, is crucial for capturing high-quality shots.
Utilizing the Live Photos feature on your iPhone can be beneficial, especially for group or action photos.

