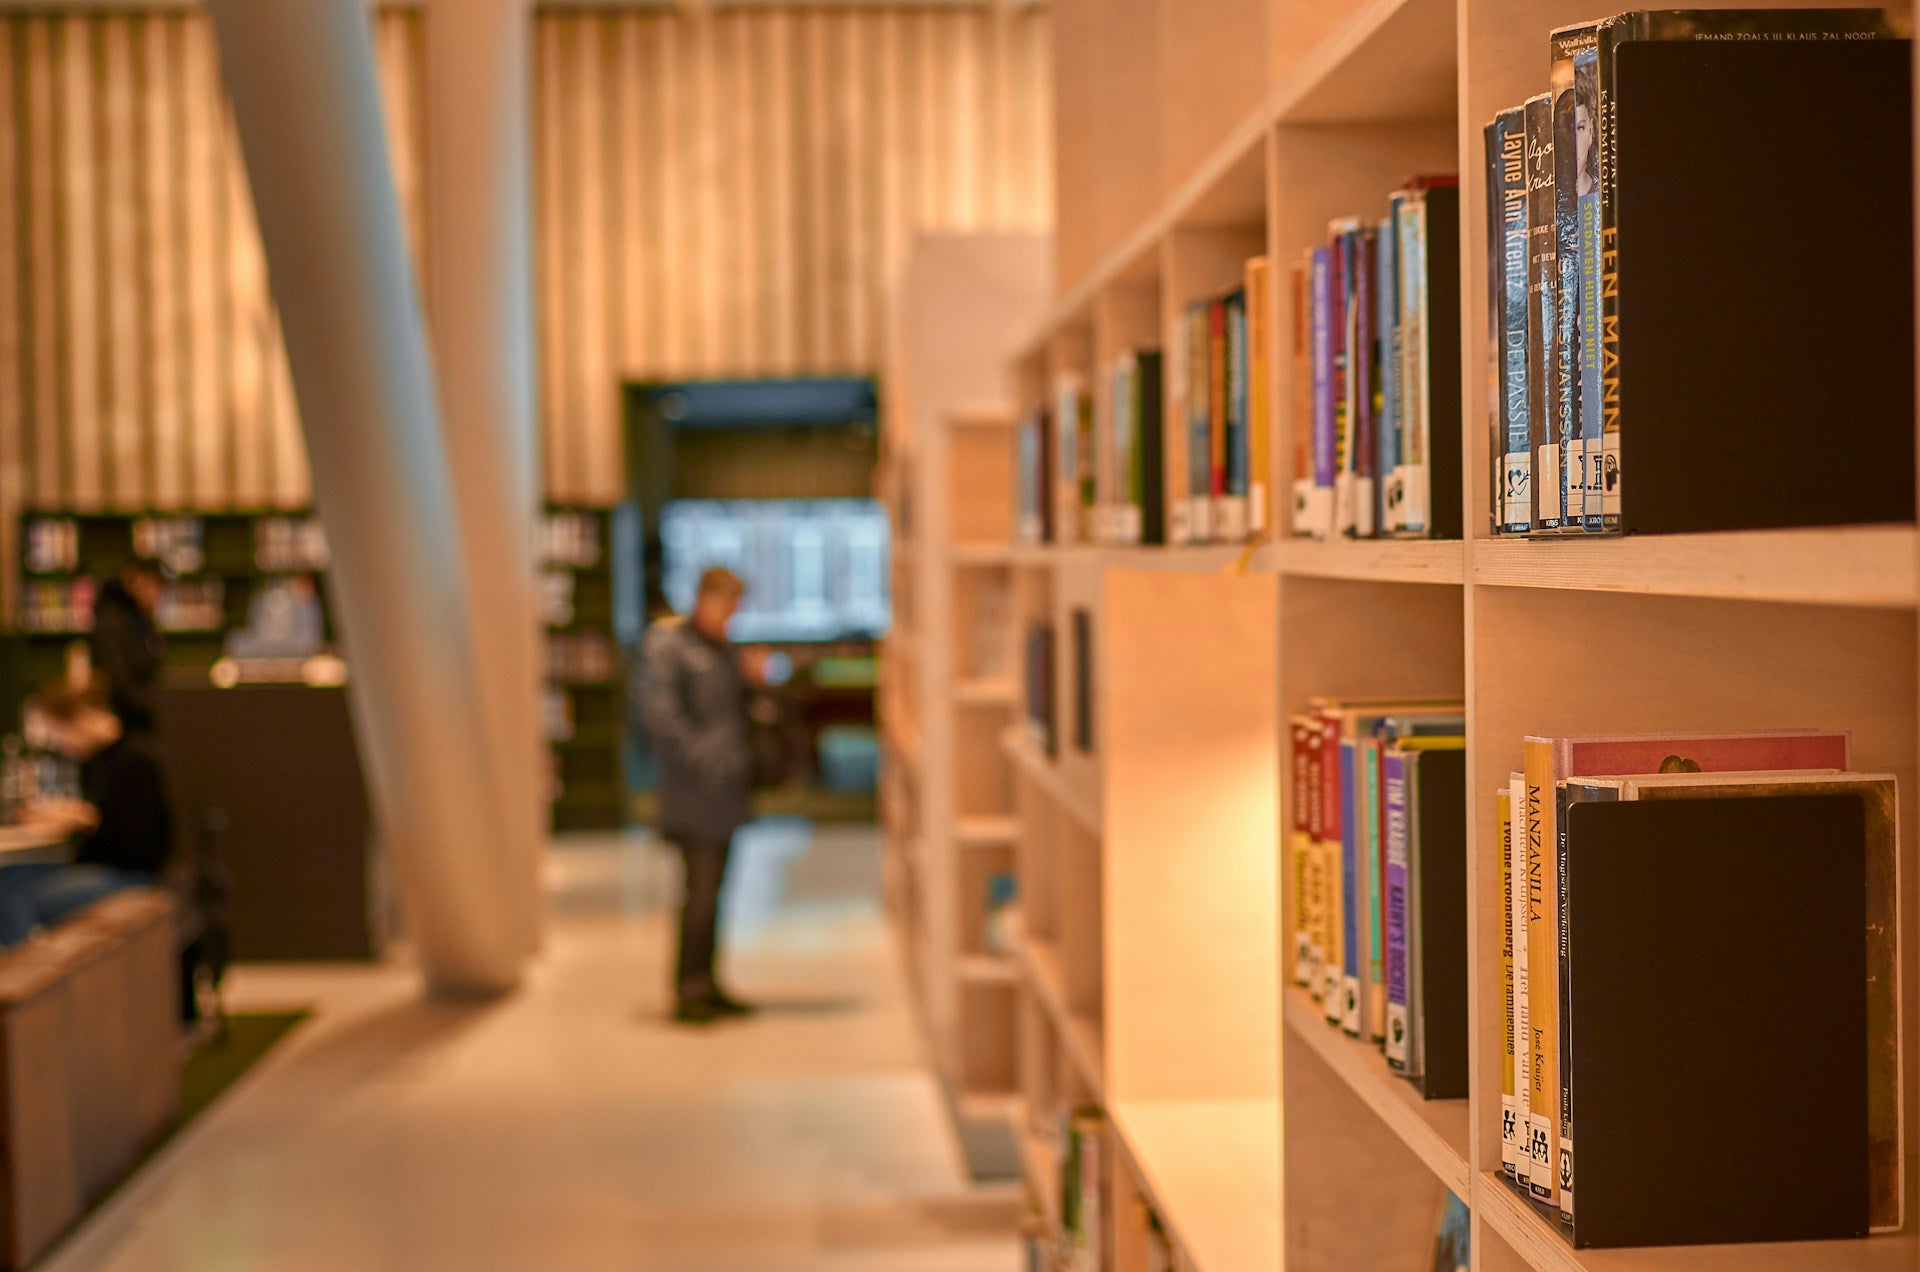
Do you aspire to create beautifully blurred images similar to those captured by professional photographers? In practice, achieving professional-level background blur often requires expensive camera lenses and equipment, such as specialized macro or telephoto lenses. However, if you don't have access to these professional camera lenses, there are alternative methods available to blur your images using online tools. In this article, we will introduce several techniques to help you quickly and effectively blur the background in your photos.
How to blur the background of a photo in the Camera app
The simplest way to blur the background of your photos is to do it while you are capturing the image. This can be achieved by using the Portrait mode feature available in the Camera app. The process is straightforward, and the following steps will guide you through it:
- Open the camera app
- Tap horizontal slider and Select the Portrait mode
 3. You could see different lighting modes within the Portait mode and you may choose one of the lighting mode you like;

4. After all settings are completed and it is easy for your take pictures with beautifully blurred background.

How to blur the background of a photo with Snapseed
Some users may want to blur the background of their photos after taking them. In such cases, it is advisable to use dedicated apps that offer background blurring functionality. Snapseed is widely regarded as one of the best apps for this purpose.
- Let Snapseed to access photos, then select the photo you wish to change
- Select the Portrait button
- To ensure that the subject remains in focus, use your finger to drag over it
- To enhance your control over the blurring effect, you can adjust the Intensity and Brush size sliders to better suit your needs
- Select the Check mark icon to finish
- Simply select the Save button to save your work
how to blur photos with Photoshop
Adobe Photoshop is also a best tool to add background blur to images and but you need to install this tool on your computer:
- Open Photoshop /go to the "File" menu
- On the right side of the screen, under the Layers section, right-click on your photo and select "Duplicate Layer
- Ensure that the top layer is selected in the Layers section. Next, apply a Gaussian Blur filter by navigating to Filter > Blur > Gaussian Blur. In the dialog box, enter a radius of 50 to achieve the desired blur effect, and then click OK.
- Next, select the Erase tool from the left-hand toolbar. If necessary, you can fine-tune the hardness of the tool to around 50% using the options provided in the top toolbar.
- Begin erasing the areas that you want to keep clear and sharp. This process may take some time and patience, so take your time to ensure the desired outcome.
- If needed, you can change the size of the erase tool as you progress by using the Size adjuster in the top toolbar. This feature will enable you to work on finer details with increased accuracy and precision.
- To save the image, navigate to the "File" menu and click on "Save". If you want to export a smaller version for web or social media, go to the "File" menu, select "Export", and then choose "Export As...".

