These days, microphones have become indispensable tools in our lives, particularly for content creators who seek clear and high-quality sound for their projects. Among the various microphone options available, the lavalier microphone has gained significant popularity. These lavalier mics are great for interviews, presentations, speeches, and even some performances.In this article, we will provide an introduction to the lavalier microphone and offer some tips on how to use it.
What is a Lavalier Microphone?
The lavalier microphone, also known as lapel mics or clip-on mics, is a small, compact, and portable microphone. It has gained popularity for its ability to capture excellent and clear sound in various applications, including filmmaking and broadcasting. The lavalier microphone can be categorized into two types: wired microphones and wireless microphones.
Wired Lavalier Microphones
In comparison to wireless microphones, wired microphones are more affordable and user-friendly. Users can simply place the microphone on desired positions such as the edge of clothing, a tie, or other objects to achieve clear and excellent sound quality. If the distance between the microphone and the desired position is short, this issue can be easily resolved by using available extension cables.
Wireless Lavalier Microphones
Wireless lavalier microphones operate by transmitting audio signals through radio frequencies to a dedicated receiver, which enables a sound mixer to have control over the received audio and make necessary adjustments as needed.
If you are considering purchasing a lavalier microphone, there are some important factors to keep in mind. These include understanding where to place the lavalier mic, how to properly position the microphone and how to connect it to your desired devices, such as phones or computers.
Where to place the Lavalier Mic
- Attach the lavalier mic to the collarbone - it is easy to place the mic there, which is a good place for capturing your sound;
- Placing a lapel microphone on the collar is different from placing it on the collarbone. At this situation, you should wear a suit, sweater, or a collared shirt/t-shirt;
- Chest placement is another great option. It works perfectly with ties, button-up shirts, and blouses.
How to Position a Lavalier Mic

It is important to properly position your lavalier microphone to achieve good sound quality. Many lav mics on the market use omnidirectional capsules, allowing them to effectively capture sound from various directions. If you're new to using microphones, it is recommended to position the mic on your chest or at a distance of approximately one hand-span (20-30 centimeters) from your mouth. It will help you achieve natural and excellent sound.
Place the Lavalier Mic on the cloth
All lavalier microphones come with a clip that allows users to mount the mic to clothing or other positions. To attach the microphone, remove the windshield, pinch the spiral clasp, insert the microphone into the loop, and release the clasp to secure it in place. Finally, reattach the windshield to the microphone for added protection.
Mounting Your Lavalier Mic
To ensure excellent sound quality, it is important to attach your microphone in the correct position. Many users prefer placing the microphone on the edge of a tie or clothing to maintain clarity and minimize unwanted noise. However, if your clothing lacks a strong seam, attaching the mic to the neckline is a suitable alternative.
For fitness instructors or sport vloggers wearing a singlet, the shoulder straps provide a convenient location for mounting the microphone. In such cases, it is a good idea to use a windscreen. Remember to maintain a distance of approximately 20-30cm from your mouth and ensure that there are no objects causing friction, as this will help achieve optimal sound recording.
Conceal the cable and keep the video more professional

For a professional and clean presentation, it is recommended to conceal the cable when using a wired microphone. Many users choose to hide the cable under their clothing or jackets to maintain a tidy appearance in their videos. If you wish to handle it in a more professional manner, investing in a "broadcast loop" will provide you with a neat and polished profile.
How to Connect a Lavalier Microphone to your Recording Devices

Once you have successfully mounted and positioned your lavalier microphone, the next step is to connect it to your recording device. You should consider what kind of device you should connect and whether you use the wired microphone or wireless microphone.
Camera Devices
If you frequently record audio by connecting to computers or mobile devices, the Godox WEC KIT 2 is an excellent option to consider. It is a cost-effective dual wireless microphone system that ensures uninterrupted transmission and captures high-quality sound. The microphone is equipped with effective noise reduction technology and a convenient digital display for adjusting various settings. Additionally, it includes cables for connecting the receiver to a camera's 3.5mm microphone input socket.
Mobile Devices
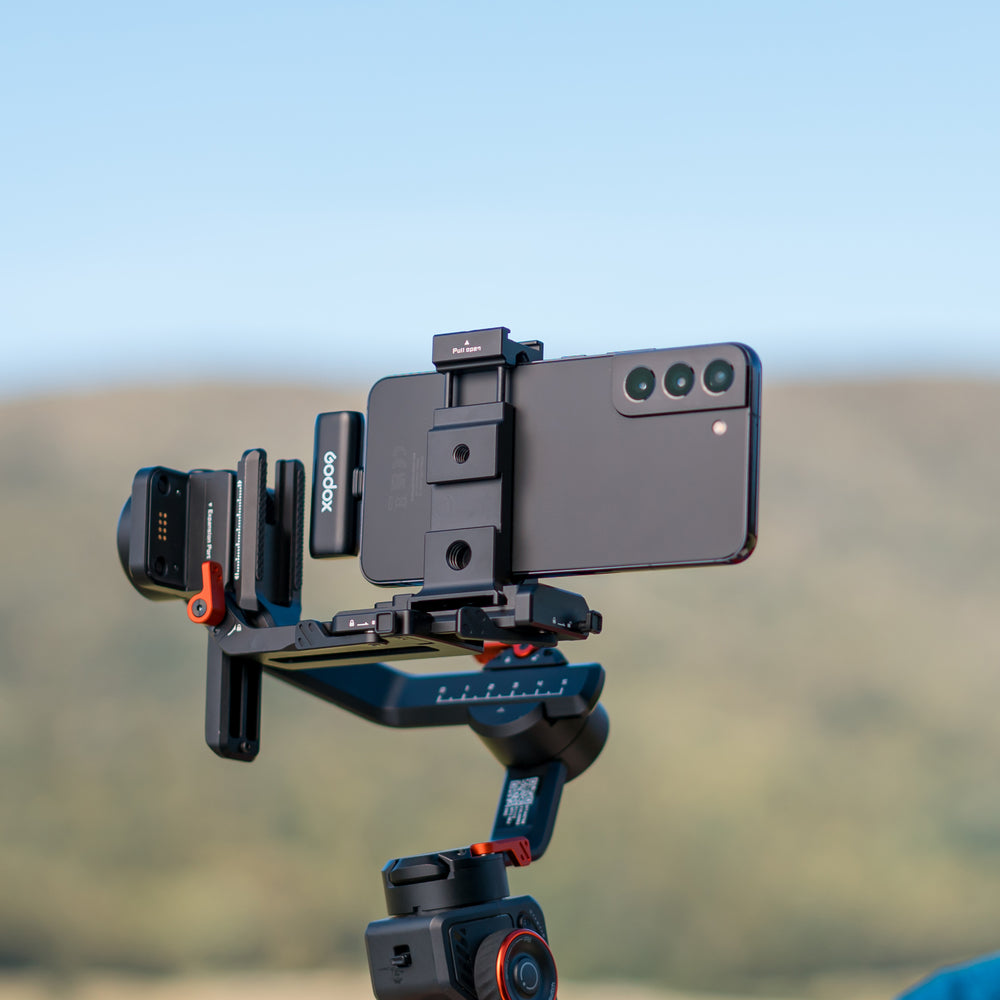
For mobile phone connectivity, the Godox WES Kit is an excellent all-in-one solution. This compact and portable kit includes both internal and external microphones for capturing audio. The Godox WES Kit is particularly well-suited for vlogging, interviews, mobile podcasting, or any video content where you are seated in front of your phone. It provides a convenient and comprehensive solution for recording high-quality audio directly on your mobile device.
To connect the receiver of the Godox WES Kit to your phone, you can utilize the provided 3.5mm TRS (Tip-Ring-Sleeve) and 3.5mm TRS to TRRS (Tip-Ring-Ring-Sleeve) audio cables. These cables enable a seamless connection between the receiver and your phone, allowing you to capture high-quality audio directly onto your mobile device.